


Getting started
Five steps from a new account to a live first site — sign in, create the site, open the admin panel, replace the COMING SOON Home page and publish.
Last updated 2026-10-06
This guide takes you from a new account to a website whose home page is your own content, open to anyone. Follow the five steps below in order: each one says what to press and what you should see when it is done. The sections after the five steps are reference, for when you need the detail.
Everything here describes what SeedWebs does today. If your screen disagrees with the text, trust the screen and tell us.
Step 1: Sign up or sign in
There is no separate sign-up form. Signing in with Google or email for the first time creates your account.
- Open
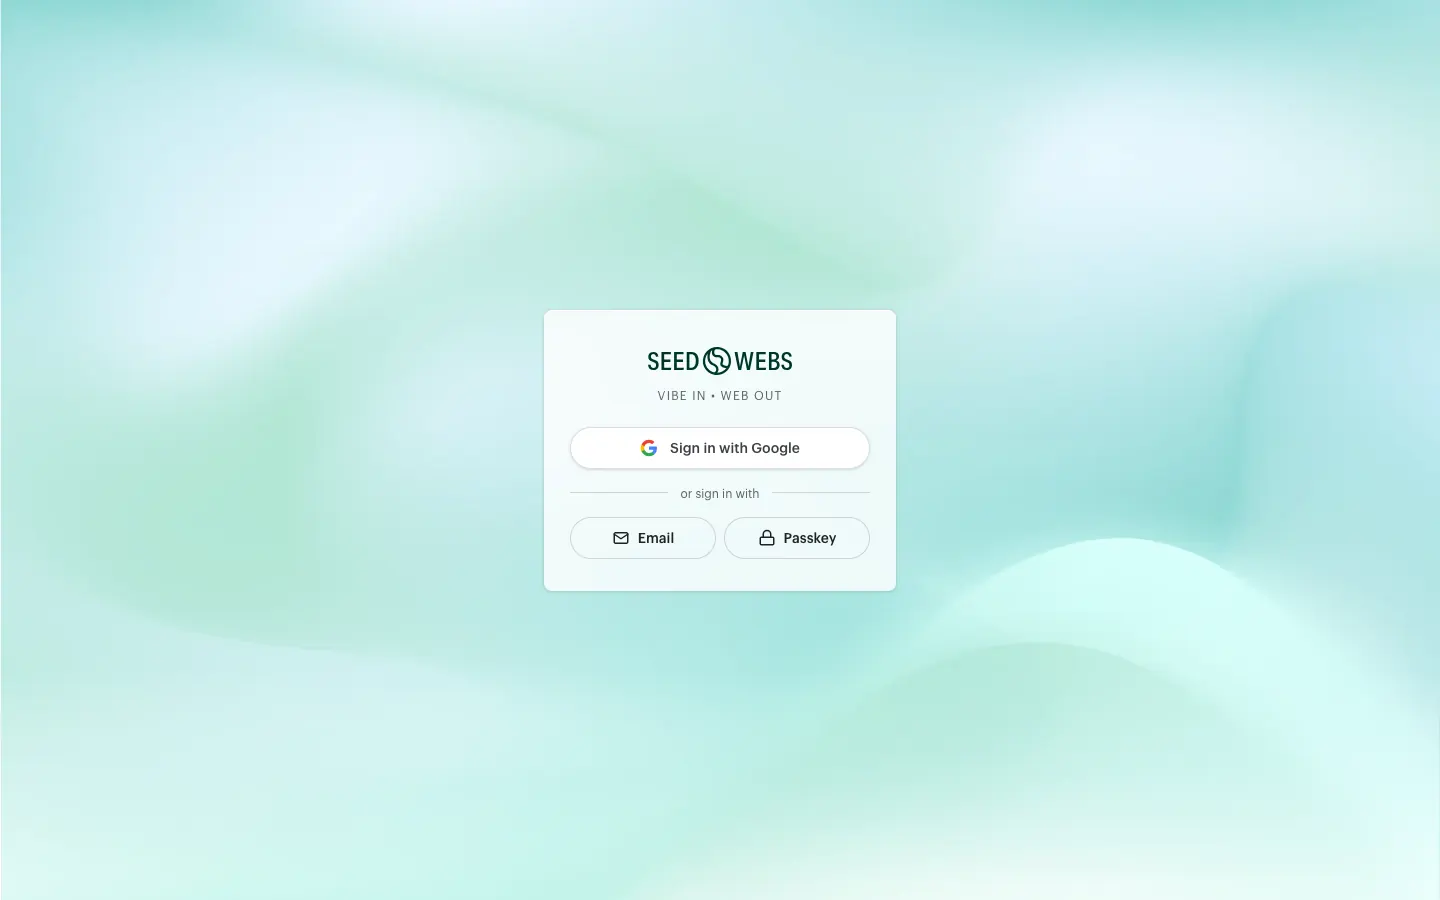
seedwebs.com/login. - Choose how to sign in:
- press Sign in with Google and pick your Google account, or
- under “or sign in with”, press Email, enter your email address and press Send Verification Code.
- If you chose email, open your inbox, type the code into the “6-digit verification code” field and press Verify.
Once you are signed in you land on My Site (seedwebs.com/dashboard). An account with no sites yet shows a “Get Started” card with a Create Free Website button.
- Send Verification Code can be pressed once the verification box under the email field has passed.
- The code is valid for 10 minutes. If it expires or never arrives, press Resend Code, and check your Spam folder too.
- Passkey only works once you have added one. Use Google or email the first time; if you want a passkey, add it later on the Profile page (
seedwebs.com/dashboard/account). It is optional. - If you opened the link from LINE or another chat app, the page says “Open this page in your browser”, because Google sign-in and passkeys do not work inside those apps. Press Open in browser, or Copy link and open it in Chrome or Safari — or sign in with email, which does work inside the app.
Step 2: Create your site
Every site is created from seedwebs.com, not from a site’s own admin panel.
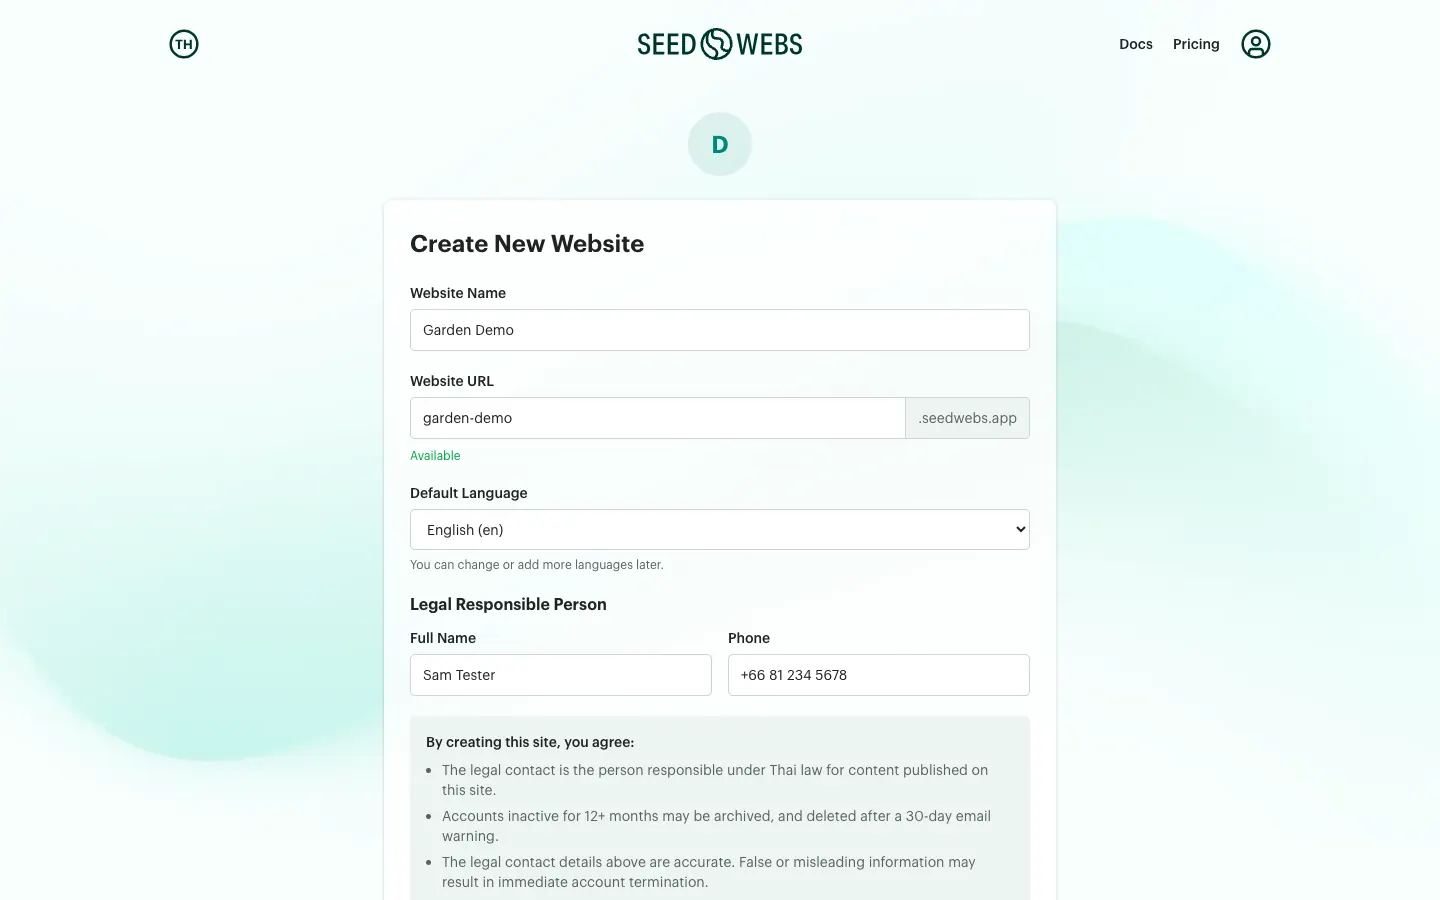
- On My Site, press Create Free Website. The “Create New Website” form opens (
seedwebs.com/dashboard/new-site). - Website Name: the name you want. It becomes the Site Name in the admin panel and can be changed later.
- Website URL: check or type the first part of
.seedwebs.app, using a-z, digits and hyphens, and wait for it to say “Available”. The URL cannot be changed afterwards — see URL rules below. - Default Language: the main language of your site’s content. It starts as English (en); pick another if you will write in it (en, th, ja, zh, ko, fr, de and es are offered, and you can add languages later).
- Legal Responsible Person: enter the Full Name and Phone of whoever is responsible for the content under Thai law. Both are required.
- Tick “I agree to the Terms of Service” and press Create Website.
A progress bar runs while the site is built, then “Website Created!” appears with the address your-site.seedwebs.app, an Admin button and a Back to Dashboard button.
- A name written only in Thai produces no URL: the URL field stays empty and the site cannot be created until you type one, for example
mysite, and it says “Available”. - Before you type a name, the URL field may already hold a value taken from your account name. Make sure it is the URL you want before pressing Create.
- Create Website stays disabled until all five are in place: a name, a URL marked Available, a full name, a phone number and the ticked terms checkbox.
Step 3: Open the admin panel and find Home
- On the “Website Created!” screen, press Admin. The admin panel opens in a new tab at
https://your-site.seedwebs.app/admin/. - The admin panel has its own sign-in, separate from
seedwebs.com, so the first time you get a sign-in screen again — and it is in Thai, because the admin panel starts in Thai. Use the same email you created the site with: press เข้าสู่ระบบด้วย Google (Sign in with Google), or press อีเมล (Email), enter your address, press ส่งรหัส (Send code), type the new 6-digit code and press ยืนยัน (Verify). - You land on the site’s dashboard, still in Thai. Switch the admin panel to English: click your name at the bottom-left of the sidebar and press EN. The choice is remembered in that browser.
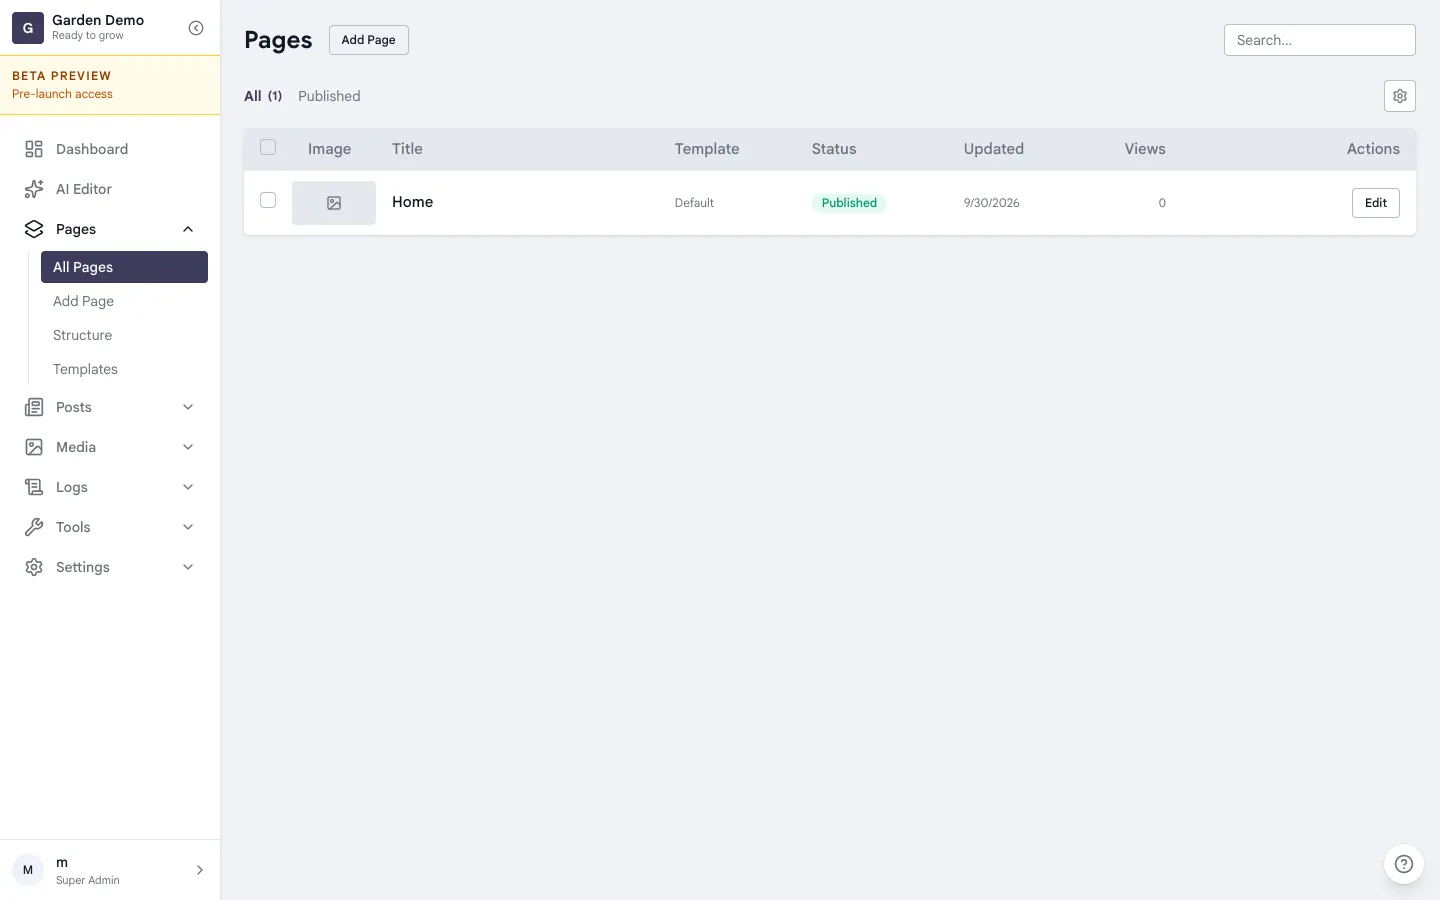
- In the sidebar, press Pages → All Pages.
The list holds a single row: Home, status Published. That page is your site’s home page, which currently shows the words COMING SOON.
- The code you used for
seedwebs.comdoes not work here; request a new one. If no code arrives, check you entered the email the site was created with — any other address receives nothing. - The email that created the site was made this site’s Super Admin during setup. Anyone else has to be invited first, at Settings → Users (
/admin/settings/users). See Users and permissions. - To go back to Thai, use the ไทย button in the same place.
- Next time, reach the admin panel either by opening
your-site.seedwebs.app/admin/directly, or fromseedwebs.com/dashboardby pressing Admin on the site’s card.
Step 4: Edit the Home page and publish it
Edit the existing Home page rather than creating a new one.
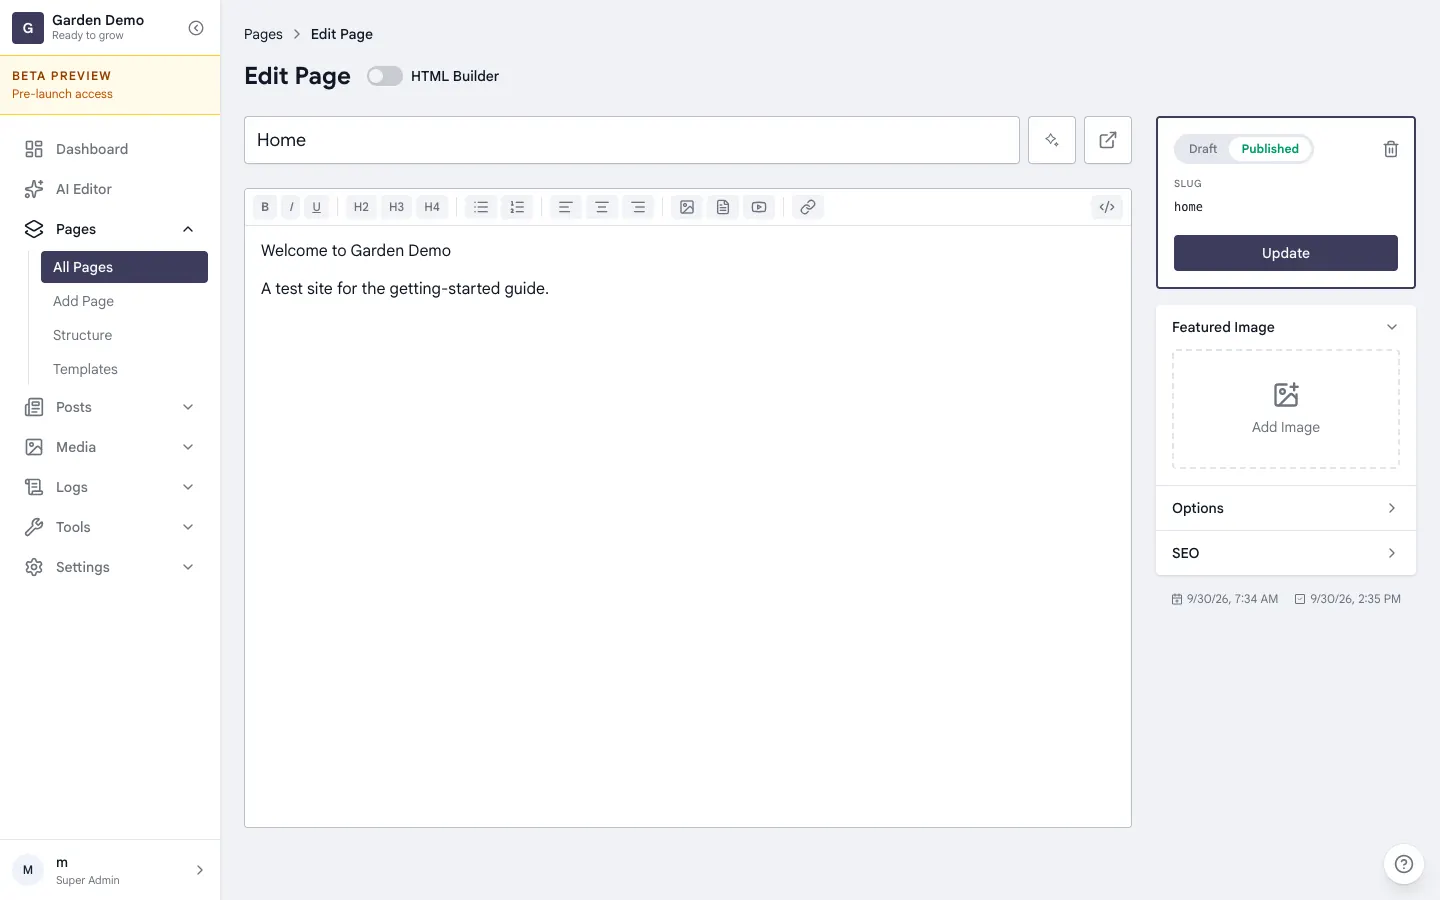
- Press Edit on the Home row (or click the name Home). The Edit Page screen opens.
- Leave the HTML Builder switch next to the “Edit Page” heading off.
- In the content box, type your own heading over the words COMING SOON — your shop’s name, say — and replace the line “Go to admin to edit this page.” with a short introduction.
- In the box on the right, check that Published is selected, not Draft, and that Slug still reads
home. - Press Update.
A successful save shows “Saved. The public page updates within about a minute as the cache refreshes.”
- The page title (the field that says Home) is not shown on your home page. If you want a heading, it has to be in the content box. The COMING SOON line is already an H2 heading, so typing over it keeps it a heading.
- Do not change the slug
home: that is how SeedWebs finds your home page. - Turning HTML Builder on asks for confirmation first, because switching clears the existing content. See Two ways to edit content below.
- If you save as Draft, visitors do not see the page. Set it back to Published and press Update again.
Step 5: Open your live site
- Open
https://your-site.seedwebs.app/in a private (Incognito) window to see it exactly as visitors do — or press the outward-arrow icon next to the title field in the editor, which opens the page on your site in a new tab. - Check that you see your heading and text instead of COMING SOON.
- If you still see the old version, wait about a minute for the cache to refresh, then reload.
When your content shows at that address, your first site is published and anyone can open it. Sites on .seedwebs.app do not appear in Google search results, though — see Your site’s URLs for why.
Read next
- Pages and posts: add pages, write posts, and use HTML Builder
- Media library: upload images and files
- Menus and navigation: arrange your site’s menu
- Themes and templates: change how the site looks
- Your own domain: use your own domain instead of
.seedwebs.app - Plans and billing: the plans and what each one includes
URL rules
The URL is checked live as you type, and reports either available or taken.
- 3 to 32 characters
- a-z, 0-9 and hyphens only, and it cannot start or end with a hyphen
- reserved words are refused:
www,api,admin,app,blog,shop,mail,mcpand others. A reserved word reports “taken”, exactly as if somebody had claimed it — pick something else
Neither the Dashboard nor the portal’s site settings has a field to change the URL afterwards, so choose carefully the first time. To use your own domain instead, see Your own domain.
One trial site per account
If your account already has a site on the trial plan, the create button is hidden — and a request sent directly to the API is refused. Upgrade the existing site, or wait for its trial to end.
Your site’s URLs
Say the URL you picked is mysite.
| For | URL |
|---|---|
| The public site visitors see | https://mysite.seedwebs.app/ |
| The admin panel where you manage content | https://mysite.seedwebs.app/admin/ |
| This site’s API | https://mysite.seedwebs.app/api/ |
Calling the API from your own software needs an API token. Tokens can be issued on the trial and on all three paid plans; a site whose trial has ended cannot issue one until a plan is chosen. The same applies to connecting the site to Claude — see Plans and billing.
Two things to know about the admin URL:
- The trailing
/on/admin/is required. - The admin panel only opens on
mysite.seedwebs.app. If you have connected your own domain and open/admin/there, you are sent back to that domain’s home page, because the sign-in session is tied tomysite.seedwebs.appalone.
Every page served on *.seedwebs.app carries an X-Robots-Tag: noindex header, so Google does not index it. To be findable in search you need your own domain, which requires a paid plan (Seed, Pro, Business) — and for now the SeedWebs team also has to enable the feature for your site individually.
What a new site comes with
Creating a site seeds a starting set of content.
| What you get | Detail |
|---|---|
| A Home page | One page titled Home, slug home, status Published, containing the words COMING SOON |
| The Default theme | Set as the active theme, with a header, a footer and a full set of templates |
| A post category | One, called News (slug news) |
| A media folder | One, called General |
| Menus | Three empty ones: Header Menu, Footer Menu, Mobile Menu. Header Menu is the site menu; Footer Menu is shown only where the theme writes {{nav menu="footer"}}; Mobile Menu is not used |
| Page templates | Default and Landing |
| An author | One, display name taken from the site owner’s name, slug from the first part of their email |
| Site settings | Site Name as you typed it, Tag Line set to Ready to grow, default language as chosen |
The sidebar of a new site shows Dashboard, Pages, Posts, Media, the Logs group, and finally the Tools and Settings groups. Other content types start switched off; Switch on more content types below explains how to turn them on.
Signing in to the admin panel lands you on the Dashboard (/admin/dashboard): a 7- or 30-day traffic chart, your most-viewed pages, where visitors came from, and recent activity. On a new site it is all empty, because nobody has visited yet.
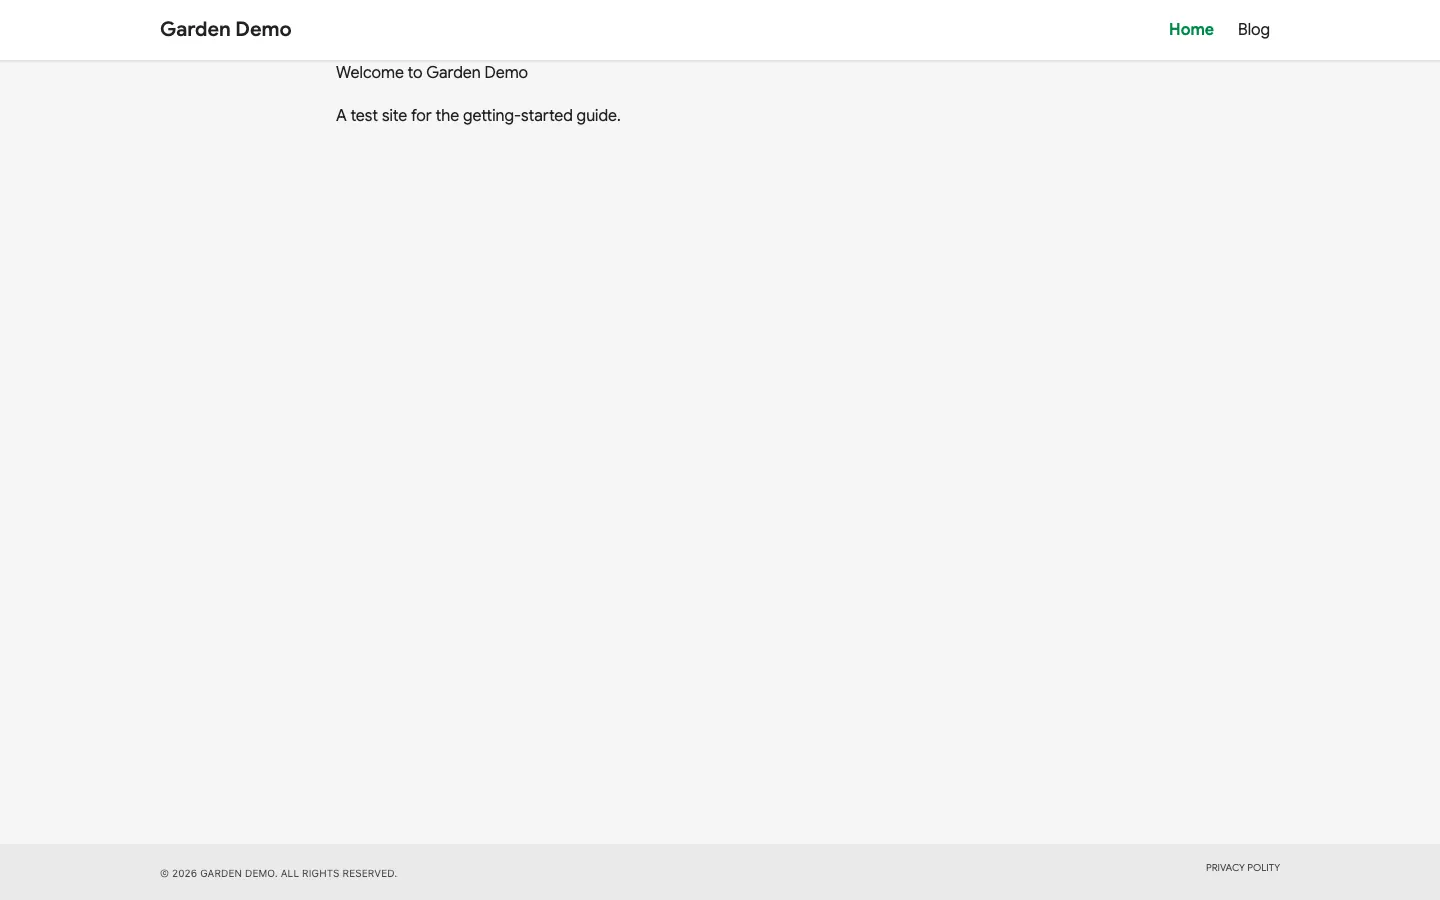
Before you edit Home, the public site shows a header with your site name, the words COMING SOON in the middle, and a footer. The header menu is empty, because Home is the only page so far.
Two ways to edit content
The HTML Builder switch sits in the title bar of the editor.
- Switch off (the default) is what the other guides call Article mode: type and format as you would in a word processor, with buttons for H2 to H4 headings, lists, links and images. Best for pages that are mostly text.
- Switch on is HTML Builder mode: the content is split into cards, one per major block, and you can edit the text, the classes, or the raw HTML. Best for landing pages.
If the page already has content, switching modes asks for confirmation first, because switching discards the current content and cannot be undone. That is why the confirm button says Switch and clear. Copy anything you want to keep out of the page before you switch. HTML Builder is covered in Pages and posts.
The outward-arrow icon next to the title opens that page on the public site in a new tab. For Home it points at /home, which SeedWebs redirects to / — so one page never ends up with two addresses.
If the Home page is gone
SeedWebs looks for a home page in this order: a published page with slug home in the language being viewed, a published home page in any language, the first published page in that language, the first published page anywhere on the site. With no published pages at all, the site shows “Coming Soon…” and points you at the admin panel to create one.
Add pages and menus
- New pages: Pages → Add Page (
/admin/pages/new). - New posts: Posts → Add Post (
/admin/posts/new). The list of posts appears at/postson the public site. - Both are covered in Pages and posts.
While Header Menu has no items, the site’s menu is built from your published top-level pages, sorted by title, skipping home. As soon as you add items to Header Menu, those take over. Menus are covered in Menus and navigation.
Images are uploaded under Media — see Media library. Everything about how the site looks comes from the theme: Themes and templates.
Switch on more content types
Go to Settings → General (/admin/settings/general) and find the Admin Menu card in the left column. This is where you switch each content type on or off, and drag them into the order you want in the sidebar. Press Save Settings in the box on the right and the sidebar updates immediately. The type names in this card follow the admin panel’s language, and the pencil on a row renames that type (see Admin panel overview).
A type your plan does not include still appears in the list, greyed out, with its switch disabled and a badge naming the plan it needs (Pro or Business).
What you can switch on yourself:
| Type | Condition |
|---|---|
| Pages, Posts, Media | On from day one |
| Sliders | Any plan |
| Forms | Any plan except a site whose trial has ended |
| Store | Pro or above, or a site on the trial |
| Logs | Already on, not tied to a plan |
The remaining types — Events, Docs, Books, Staffs, Members, Newsletters and Tours — are still internal, and do not appear in this list at all until the SeedWebs team turns on the experimental flag for your site. Ask us if you need one.
Other cards on the same page you are likely to want early on:
- Site Name and Tag Line are in the dark-bordered box on the right, next to the Save button.
- Favicon, Site Logo and Primary Colour are in the first card of the left column.
- Default Language, and adding languages, is in the card below that. While the site has one language, the language picker is hidden from the content editors. On the Seed plan the add-language field is disabled — one language only.
The whole sidebar is mapped out in Admin panel overview.
The free trial
Every new site starts on the trial plan. Right now the trial has a single fixed end date that applies to every site equally, whatever day it was created — a site made in August and a site made in October expire together, rather than each getting its own 30 days.
You do not have to remember the date. Your site’s card at seedwebs.com/dashboard shows how many days are left and turns to a yellow warning bar at 7 days or fewer. The exact date is also stated in the Terms of Service. In the admin panel, a “Beta preview / pre-launch access” bar sits at the top of the sidebar for as long as the site is on trial.
As a plan, the trial unlocks nearly every content type, including Store, Orders, Members, Newsletters and Forms — though some types still need the separate experimental flag described above. Storage is 200 MB, and if Newsletters is enabled you can send 100 emails per month. That quota counts emails actually sent, not newsletters written.
When the end date passes
- On the next request to your site, the plan changes to
expired_trial. The public site stays up and you can still sign in, but the content types narrow to Pages, Posts, Events, Media, Sliders, Docs, Books and Staffs. Members, Store, Orders, Newsletters and Forms switch off. - There is a 7-day grace period from the end date. The portal shows a red bar counting it down.
- After those 7 days with no plan chosen, the site is suspended: the public site shows a “Site Suspended” page with a button to choose a plan, and the API replies that the site is suspended. While suspended you cannot sign in to the admin panel either — go to the portal at
seedwebs.com/dashboardinstead.
Nothing is deleted when a site is suspended. All your content is intact, and choosing a plan brings the site straight back.
On a suspended site’s card, the portal also offers a link to delete the site. Confirming marks it deleted and removes it from the list. Only the site’s owner can do that.
About paying
Checkout is not open yet. The plan page in the portal has no payment button and says payment is coming soon, alongside a reminder that your site keeps working normally. Plan details are in Plans and billing.
Limits worth knowing on day one
| Thing | Current value |
|---|---|
| Trial storage | 200 MB across every file in the media library |
| Maximum size per upload | 64 MB |
| Trial sites per account | 1 |
Search indexing on *.seedwebs.app | Off, via X-Robots-Tag: noindex |
| Your own domain during the trial | Not available. Needs a paid plan, and the team to enable it for your site |
Upload past your storage limit and the file is refused, with a message saying how much of the total you have used.
When something is wrong
- Create Website will not press — check the URL says “Available”, the full name and phone are filled in, and the terms box is ticked. If the site name is in Thai, type the URL yourself.
- No code arrives when signing in to the admin panel — check you used the email the site was created with, and request a new code from the admin panel’s own sign-in screen. A
seedwebs.comcode does not work there. - Not Found when opening the admin panel — check the trailing
/on/admin/, and that you are onmysite.seedwebs.app. Your own domain cannot open the admin panel. - Signed in but bounced out, or told you have no access — that email is probably not on the site’s user list. Ask the site owner to add it under Settings → Users.
- Edited a page but the public site is unchanged — wait about a minute for the cache to refresh, then reload.
- A page never appears on the site at all — check that the status in the right-hand box really is Published. Pages left as Draft are not served publicly.
- A content type you want is missing from the sidebar — see Switch on more content types above. Some types have to be enabled by the SeedWebs team.